Accessing the colour scheme settings
The colour scheme settings control the visual appearance of both your booking forms and your admin area. To change your colour scheme:
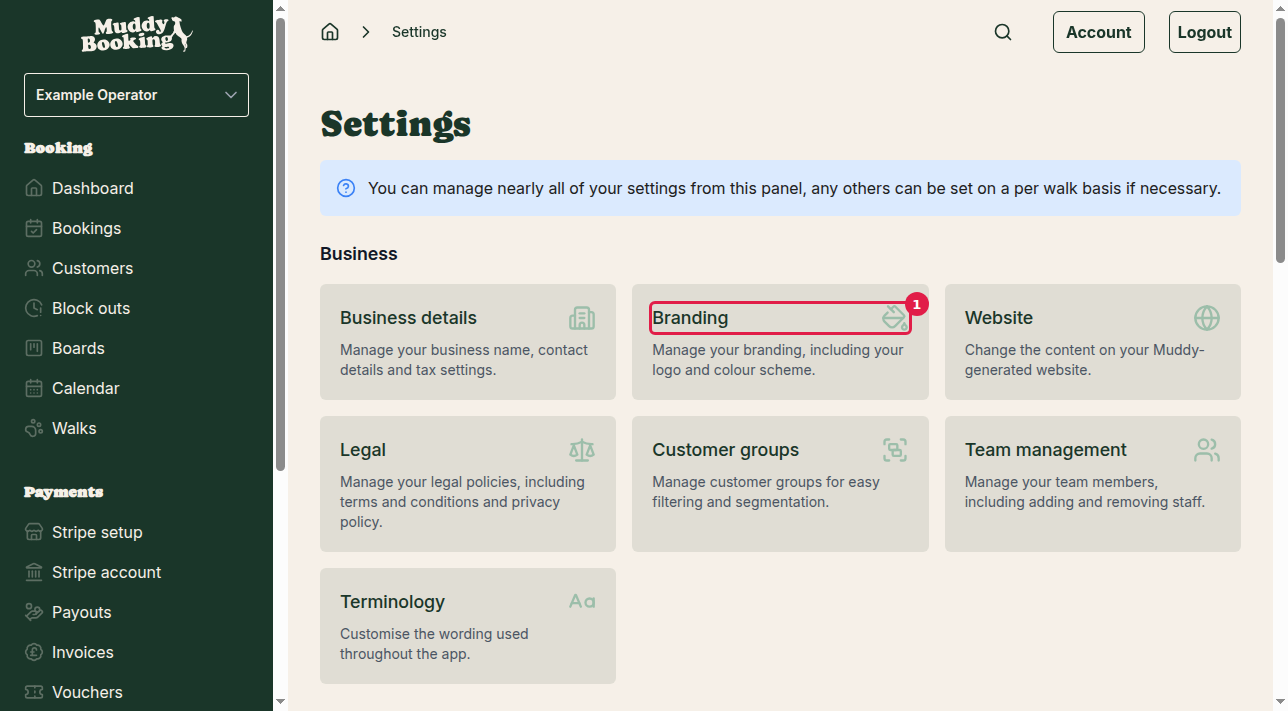
- Go to Settings from the main menu
- Click Branding (1) in the Business section
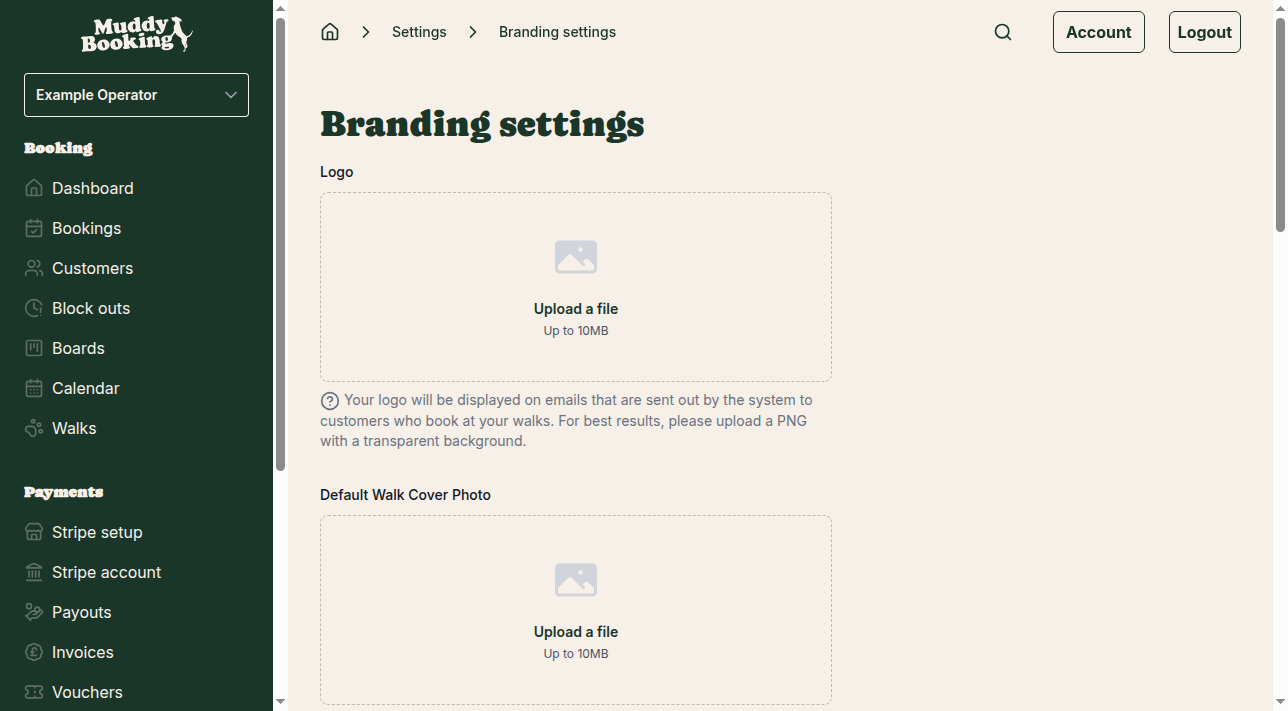
Selecting your colour scheme
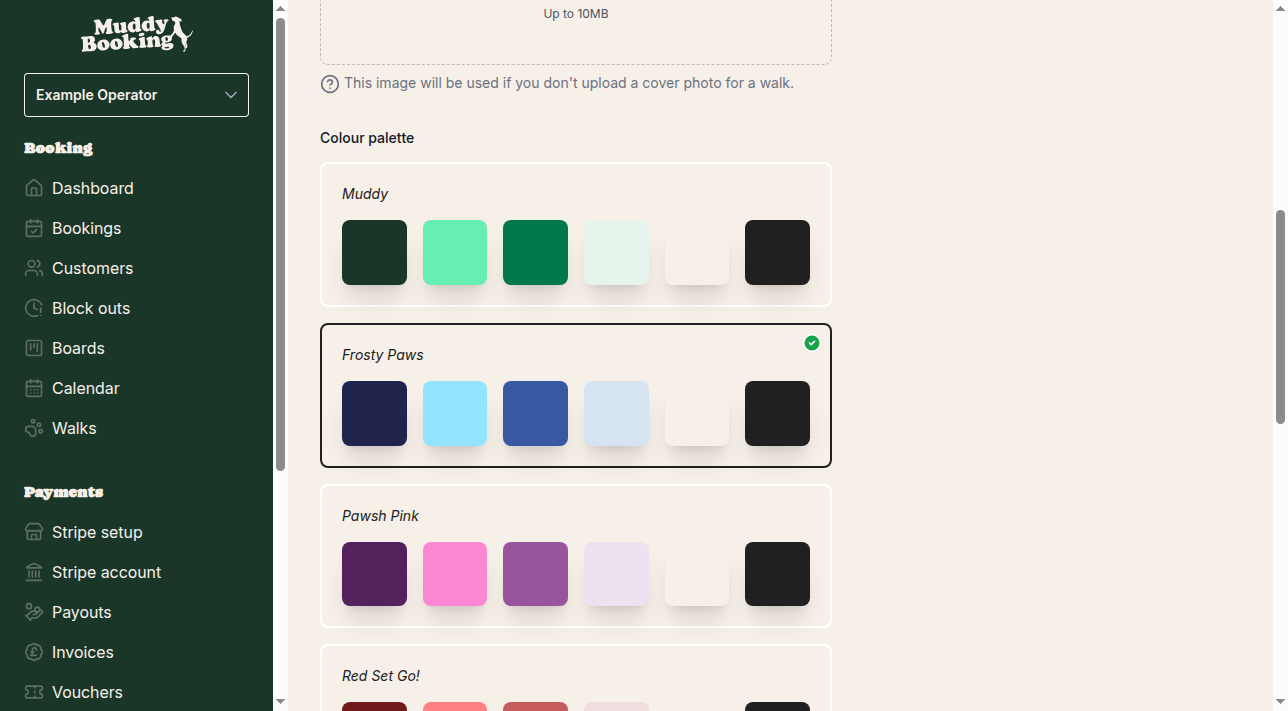
On the Branding settings page, you'll find the Colour palette section with seven different colour schemes to choose from (1):
The available colour schemes are:
- Muddy — The original Muddy Booking colour scheme
- Frosty Paws — A cool, frosty colour palette
- Pawsh Pink — A stylish pink-themed scheme
- Red Set Go! — A bold red colour palette
- Pumpkin Pup — An autumn-inspired orange scheme
- Bark Mode — A dark, modern colour scheme
- Noble Paws — An elegant, refined colour palette
Simply click on your preferred colour scheme to select it.
Saving your changes
Once you've selected your preferred colour scheme, click the Save button (1) at the bottom of the page to apply your changes.
Your new colour scheme will be applied immediately and will affect:
- Your admin area — All the pages you use to manage your business
- Your booking forms — The forms your customers see when making bookings
- Customer-facing pages — Any Muddy-generated pages your customers visit
Important notes
- The colour scheme change applies to your entire Muddy Booking system
- There's no preview available — you'll see the changes after clicking Save
- Your customers will see the new colours on their booking forms straight away
- You can change your colour scheme as often as you like